


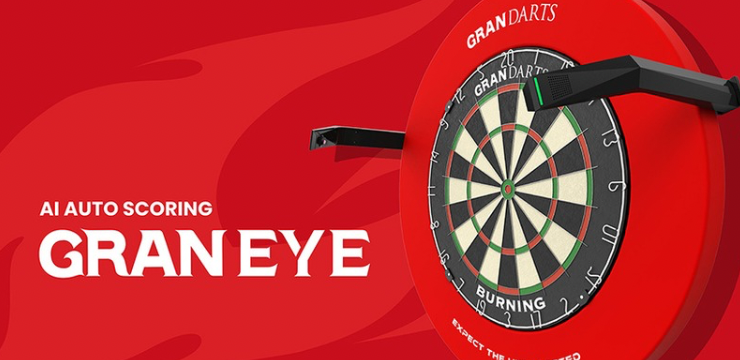
In the video above we walk through the full GRAN EYE install—from mounting and wiring to app setup, calibration, and playing your first legs. Below is the companion guide with all the key steps, tips, and fixes in one place.
Before we dive in, a quick word on setup vibe and expectations: this is a hands-on install that rewards a little prep. Clear the area around your board so you can step back to align things, wipe the wall so adhesives bite properly, and lay out a few basics—pencil, masking tape, small spirit level, microfibre cloth, and a screwdriver. Good, even lighting helps both you and the cameras; if your board corner is dim or reflective, adjust lamps now rather than later. Have your Wi-Fi details to hand and give yourself an unrushed 45 minutes for a calm, methodical fit. Optional but handy: take a couple of photos at each stage (template, brackets, wiring) so if you ever relocate the unit, you’ve got a visual reference.
What’s in the box
- GRAN EYE base unit
- Left & right camera arm + two brackets
- Three “Echo” sensor units
- Adhesive pads & cable clips
- Screws/fixings
- QR link to the online manual (scan it—super handy for diagrams)
Nice touch: the box arrives with a welcome message—this really does feel like next-gen darts tech.
Before you start (read this bit!)
- Board height reference: mark your centre point at exactly 2.00 m from the floor.
- Clearance for the base unit: plan to mount the base ~7 cm below the board so it clears your surround.
- Wi-Fi: you’ll need 2.4 GHz (not 5 GHz) for setup and play.
- Phone over tablet: scanning and focusing the cameras is easier with a phone than an iPad.
Mounting: template method (quick & accurate)
- Apply the paper guide and align the centre mark at 2.00 m.
- Mark all drill/adhesive points (we used a dart tip for accuracy).
- Stick the Echo units on their exact centre marks.
- Fit the left & right camera brackets, then slide in the camera arm.
- Add the adhesive cable clips to keep things tidy and avoid strain on connectors.
Tip: you can use the bracket method instead of the paper guide—the template is usually faster for first-time installs.
Wiring & positioning
- Route the small camera leads neatly into the arm and down the wall.
- Mount the GRAN EYE base on its bracket ~7 cm below the board (a little higher can work if furniture forces it, but 7 cm gives best clearance).
- Power on near a socket (an extension may be needed).
- LED will flash during boot, then go solid when connected.
App setup (iOS/Android)
- Install GRAN Darts and create your account (player name, avatar, GRAN ID).
- In ⋮ Menu → Device Settings → GRAN EYE, start Initial Setup.
- Ensure your phone is on 2.4 GHz Wi-Fi.
- When prompted, scan the QR codes for both cameras (do this with your phone).
Use the focus tool to get each camera sharp. - Use the focus tool to get each camera sharp
Calibration (don’t rush this)
- Select your board manufacturer.
- Calibrate left camera first, then right:
- For each highlighted point, pinch-zoom and use nudge arrows to line it up.
- Tap Correct when it matches; restart calibration for that side if re-detect loops.
- There are four steps per side.
- If a segment isn’t detected (e.g., 5/20 gap), zoom in and add the missing point, then Complete.
AI model & updates
- The app will test and pick the best AI model (Pro/Light/Basic).
- Apply any firmware/app updates if prompted.
Play time: your first 501
- Add your opponent on the Home screen and start 501.
- The app shows each dart beneath the board.
- Wait for the red line before throwing—if you go early, dart one can be missed.
- Need to fix a read? ⋮ → Reverse/Redo, then tap the board value to correct.
Troubleshooting & real-world notes
- Wi-Fi matters: if your signal’s weak or the house is streaming, you may see a camera connection warning. A solid 2.4 GHz connection keeps things smooth.
- Height is non-negotiable: 2.00 m to centre and ~7 cm under-board for the base prevent surround clashes and mapping drift.
- Adhesives are strong: stick once, stick right—removal is tough.
Quick-start checklist
- Centre mark at 2.00 m; template aligned and all points marked
- Echo units stuck precisely on their centre marks
- Camera brackets mounted; arm slid in securely
- Base unit mounted ~7 cm below board; cables clipped; power on
- Phone on 2.4 GHz; GRAN Darts → Device Settings → GRAN EYE
- QR scan left & right cameras; focus both
- Calibrate left then right (4 steps each; pinch-zoom & nudge)
- AI model selected; updates done
- In-game: wait for red line; use Reverse/Redo to correct
Price & availability (from the video)
The unit shown was quoted at ~€299 (about £240–£250 at the time mentioned).

Everything for your next throw
Move from reading to finding, buying, comparing and playing without leaving the connected DRTV platform.
 READY
CHECK FIT
DARTS IQFind your perfect setup
Use your throw profile to discover darts that fit the way you actually play.
START DARTS IQ Red Dragon Bullhitters V1 90% Tungsten Steel Tip Darts versus Target Star Wars Darts – Steel Tip – 95% Tungsten – The Mandalorian DARTS BATTLEWho wins this battle?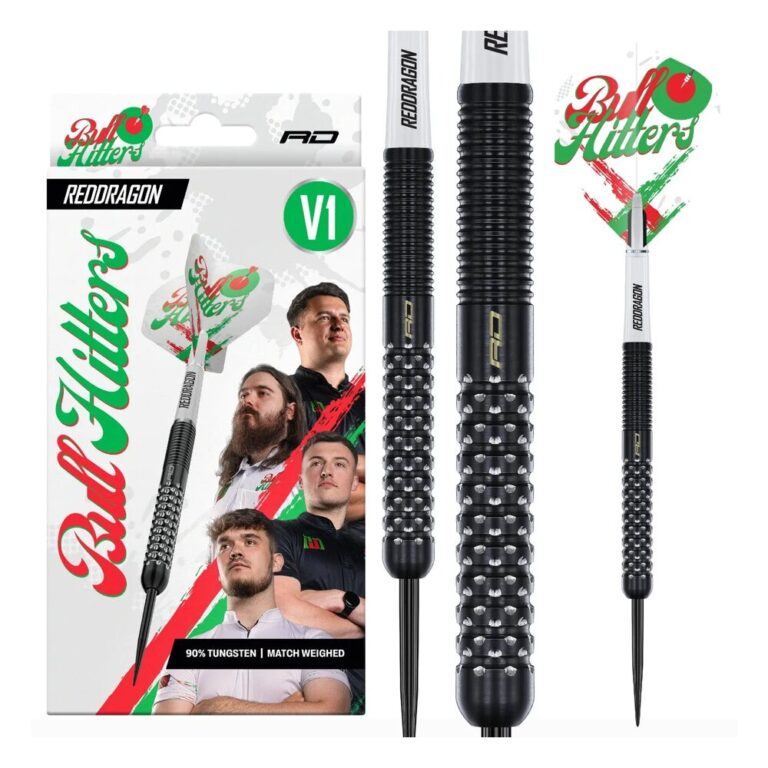
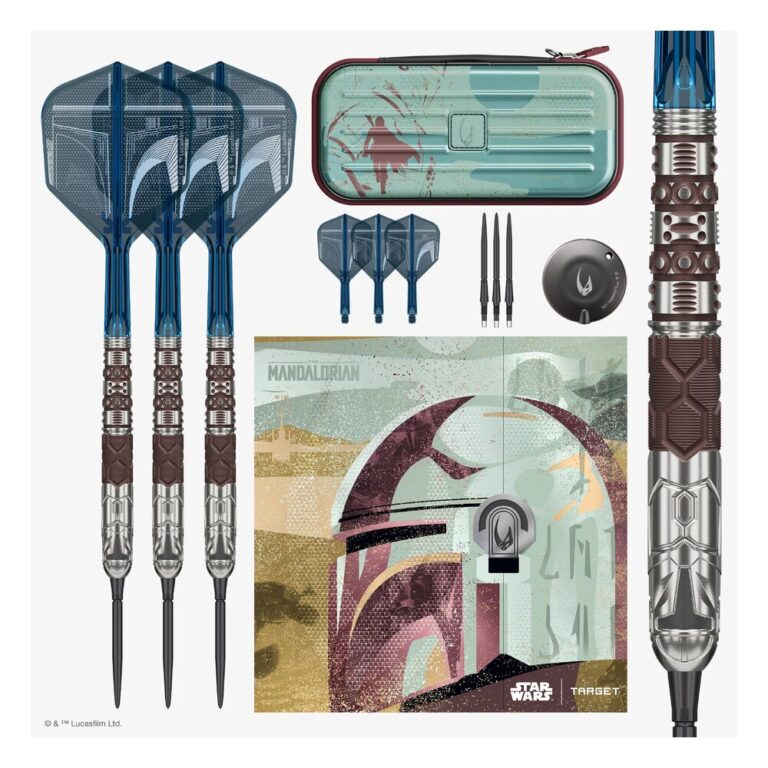
Two real darts. One head-to-head. Pick your winner.
PICK YOUR WINNER MARKETPLACEWinmau Blade 360 Triple Core Dartboard – Official PDC Match Quality
A live pick from the DRTV Marketplace, selected by Shop and backed by the DRTV Database.
EXPLORE MARKETPLACE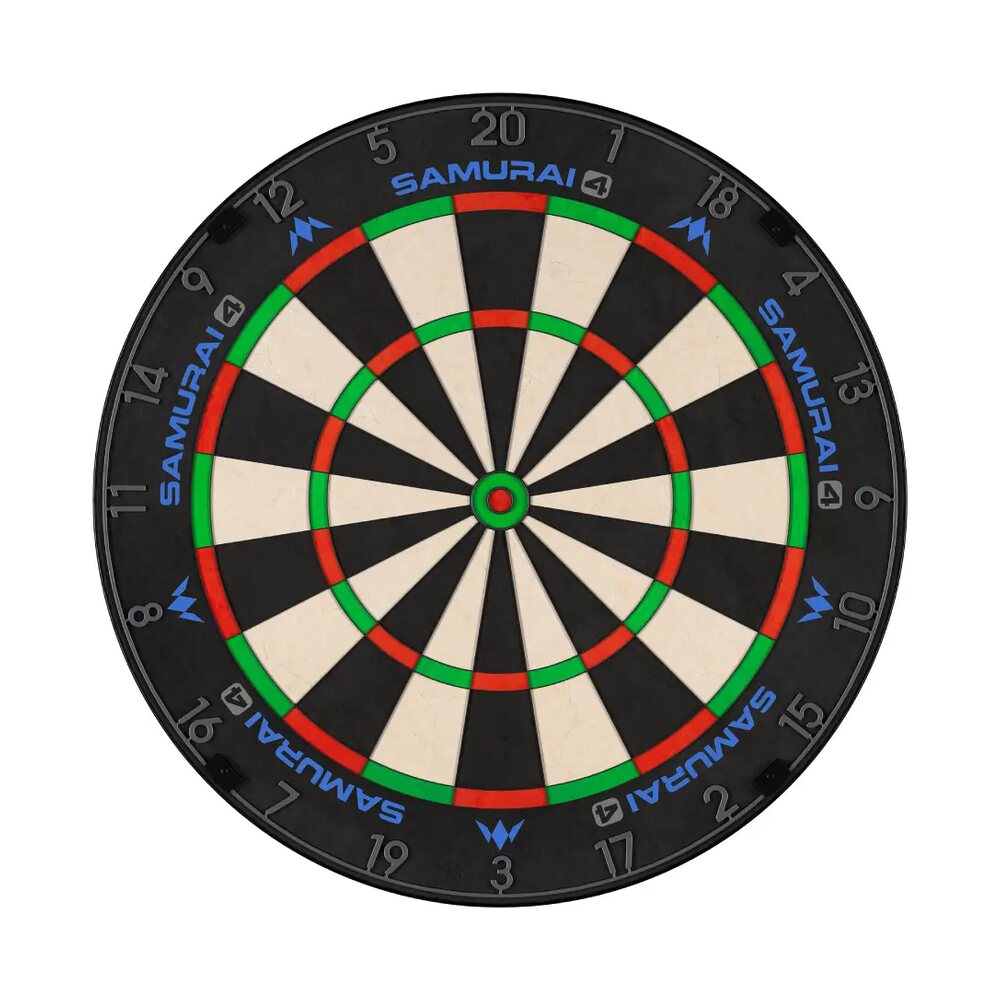








Join the conversation
Write a comment+